Showing posts with label louise roache. Show all posts

Monday, 11 September 2017

Graphic 45 Christmas Envelope Album


Louise here!  It's only Sept I hear you say but I know lots of you are already thinking about Christmas cards and Christmas presents.  So I thought I'd share pictures of this mini Christmas album I made for a class we had at Sir Stampalot.
This would make a lovely keepsake to give to someone at Christmas for them to keep their special photos in thay they take over the festive season.
The front and back cover of this album is made from chipboard cut to 10cm by 16cm.
The papers used in the album all come from one 8x8 Graphic 45 pad called 
'Twas the night before Christmas'
Unfortunately this collection is now discontinued :(
but the format and layout of this album would work wonderfully with any paper collection - festive or otherwise :)


The pages in this album are actually envelopes created from the We R Memory Keepers envelope board and I have used one sheet of 8x8 paper for each envelope.
I have made four envelopes in the 3 1/2" by 5 1/2" (gladstone) measurement in patterned paper.
You then need to remove one of the short edges flap, then glue the rest down like you would a normal envelope. This will create a opening for your tag to go in.


I have made two 4" x4 "envelopes in black card and cut the one shorter edge the same as before.
This time I saved the piece that I cut of and punched a border along the long straight edge and then glued it back onto the front of the envelope. This creates a pretty detail to the envelope.


I have used postcards and tags all found within the paper pad to create pockets and pretty details through out the album.


Six tags have been die cut from the Tim Holtz tag collection set to slip into the open end of the envelopes, I did need to cut off a little bit of the length so that they did not stick out to far.
I added a little ribbon to each one.


Where I added a picture cut-out, or made pockets, I matted and layered with black card to make them stand out more.


The whole album is bound together using a Zutter book binding machine and with 1 1/4" wires.
You do need to think about where the holes will be when decorating each page so that you are not ruining a page by punching straight through a decoration with the bind it all machine!


I tied some off-cuts of ribbon around the binding wires to finish the album.
I have also added a little stocking charm tied on with string to the wires.

Products used include:

Zutter Bind It All


Tim Holtz Tag Collection

We R memory Keepers Envelope Board

Holly Punch Around Page

Chipboard
Black Card
Twas the Night 8x8 pad

Friday, 25 August 2017

G45 Secret Garden Mini Album


Today we have a mini album made by me (Louise) using Graphic 45 papers from the
Secret Garden collection.
The papers in this collection are beautiful and this mini album was made using just one 8x8 paper pad.
The Graphic 45 pads have what they call their 'signature' page, which is the main page depicting the whole colletion theme.  I used this signature page for the front and back of my album.
The album front and back covers are cut out of chipboard and measure approx 10cm by 16cm, the papers are cut a little larger so they cover the sides of the chipboard.


Each of the pages in the book are made from one sheet of the 8x8 paper.

I have used the We R Memory Keepers envelope punch board and made envelopes out of each piece of patterned paper.
In total I made 6 patterned envelopes using the 3 1/2" by 5 1/2" measurment which is marked Gladstone on the board itself.


I die cut 6 large tags to go in each envelope from the Tim Holtz tag collection die set.


In the 8x8 paper pad there is several pages that have lots of pieces you can cut out and use for tags and to make pockets, like I have done on the left hand side page.


The papers in this pad are so pretty and there are some little word cut out pieces you can use to decorate your pages too.


All the pieces that I have cut out, I've then used the Tim Holtz tea dye distress ink colour to ink around the edges.
I have also mat and layered these cut out pieces on ivory card so they stand out against the patterns of the base envelope and also inked those edges of the ivory mats too.


I have made lots of smaller tags too and little pockets feature throughout the album.


To finish and bind the album, I have used a cropadile punch and punched holes in all pieces so that I can put them all on two book rings to create the book. You do need to carefully align your pieces and also remove large tags from envelopes because you do not want to catch any when you punch.

When you are decorating a album like this it is worth always bearing in mind where you place decorations and try to avoid where you will be punching holes.

I have then added a selection of ribbons and lace to the tops of the tags throughout the album, great for using left over bits and bobs.

I really enjoyed making this album because it was a fun project without being too large a task.  It would be perfect made in any of the other Graphic 45 paper collections for a little gift, maybe for a new baby or a wedding keepsake.


Products used for this mini album, include: 
Scalloped Tag by Magnolia
Cropadile
WRMK Envelope Board
Tim Holtz Tag Die Collection
2mm Chipboard
2mm Chipboard
Silver Book Rings
G45 Secret Garden 8x8 pad
Tea Dye Distress Ink
Ivory Card

Sunday, 2 July 2017

Owl and the Fox


Just a little something to show today made by me (Louise).

I made these cute owl and fox gift boxes using the Sizzix die called "Owl and Fox" by Jen Long.

I pretty much made them the same as on the front of the die set because I was in a hurry.
I have to say they are quick and fun to make and you can use up bits of card oddments.
My daughter gave these to her teachers, ten in total when she left school a couple of weeks ago, after sitting her final exams.
Each box fits three Lindt chocolate balls which was very handy as the gift and also very yummy!
Guess who over estimated how many would fit and ended up with spares?  Honest, wasn't done on purpose!!


They went down very well apparently - well whoo wouldn't love to recieve this as a gift (see what I did there - very cunning eh!)
And I know it will be a die set I will use again and again.

Here's the picture from the front of the die set and click on it to take you to more details:


Owl and Fox by Jen Long


Monday, 2 May 2016

Orchid Spray Card


Today I have another card using the Hero Arts set
This time only using the flowers and cutting them out.

http://www.sirstampalot.co.uk/images/0003/00030085172_L.jpg


The flowers have been stamped in three different shades of pink and a little
bit of Liquid Pearl used in the centre.
The flowers are very easy to stamp and create a lovely effect.
A frame as been created around the image and a lattice background made by using
a Sue Wilson die set called 'Stitched Lattice Frames'
This set is so useful and as a lovely stitched effect on it.

http://www.sirstampalot.co.uk/images/0077/00770086093_L.jpg 

Labels twenty eight by spellbinders is used for the sentiment.
And the sentiment itself is from a set called Black Eyed Susan by JustRite.
Pearls and ribbon are added for a extra little touch.

bye for now
louise

Saturday, 30 April 2016

Colour Layering - Orchid in a Pot


Today we have a card made using a stamp set by Hero Arts called
This is a great stamp set that you can layer up the stamps to make pretty flowers and foliage

 http://www.sirstampalot.co.uk/images/0003/00030085172_L.jpg

On the back of the stamp set there is instructions on how to use
but it is very easy and a lovely way to use all those ink colours that you have collected.
There is two lovely sentiments included in the set.
The card that was used for stamping on is Langton watercolour pad
The base of the card was made by using spellbinders set

http://www.sirstampalot.co.uk/images/077/0770053159_L.jpg 

The pink spotted paper is from a pad by first edition called
and I used the sewing machine to do a few stitches around the stamped image. 
Bye for now
Louise


Saturday, 23 April 2016

Crafters Companion The Big Score Board

Hello, Louise here,
look whats arrived at Sir Stampalot this week:

http://www.sirstampalot.co.uk/images/0102/01020086129_L.jpg 


It is the Big Score by Crafters Companion.
I am loving this board and the CD-Rom that comes with it in our special bundle.

I have been having a little play and made the box that holds two 100g chocolate bars:


This is just one of the projects on the CD-Rom and was very easy to make.
You can use it just as a gift box but I do like the idea of chocolate
for a little thank you gift.


The board can be used for making simple boxes or more complex gift boxes.
You can score and make standard cards or create a fancy folding card.
 The board is double sided so you can work in metric or imperial 
and is A3 size for making those large projects.

Products I have used are -

Magnolia paper
Happy birthday die by presscut 
Butterfly die by memory box
Solid butterfly die by memory box
Spellbinders triple floral


Friday, 15 April 2016

Woodland Friends


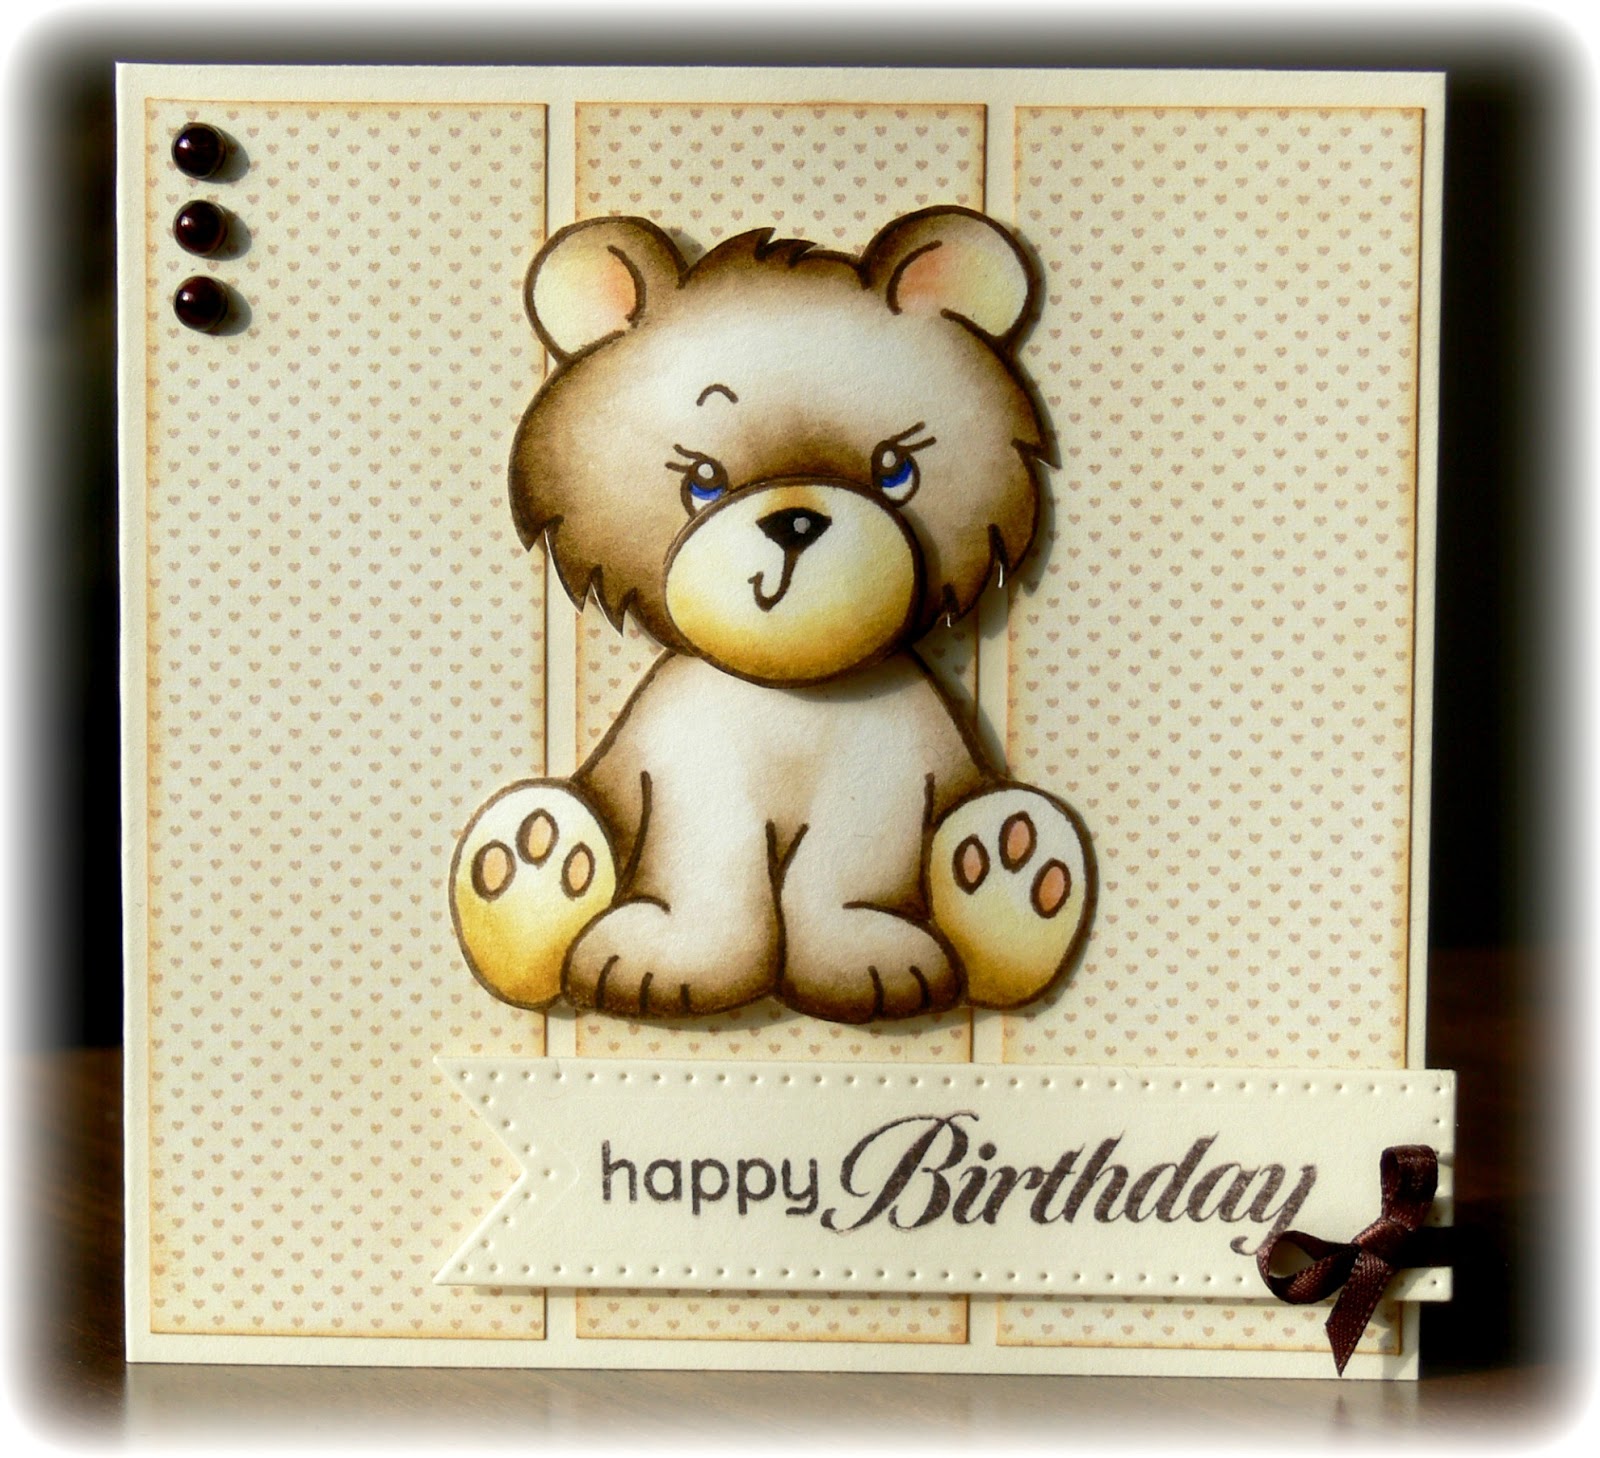
Hi Louise here with a card I have made using a new set from 
Stampendous called Woodland friends

http://www.sirstampalot.co.uk/images/0025/00250085887_L.jpg 

I have used the cute bear but loving the fox and the owl.
There is a matching die set to die cut out the animals
 that is available too.


http://www.sirstampalot.co.uk/images/0025/00250085890_L.jpg

I have stamped a few images so that I could decoupage the bear
and I have coloured the bear with distress markers.
I have used papers from Graphic 45 6x6 pad called
Precious moments
The die that I have stamped the sentiment on is by Sue Wilson
and it is called pierced flags.

Product list and links

Woodland friends stamp set  
Woodland friend die set 
Sue Wilson die - Ced4304 pierced flags 
Graphic 45 pad Precious moments
Distress markers - Gatthered twigs
                           Antique linen
                   Tea dye


Wednesday, 14 October 2015

Reindeer flight


We have some fabulous new large dies in the shop that cut your base card for you
I have used presscut stepper die #1 for this card.
You get the base die and then scalloped dies for the matting and layering.
I do like dies that save you from measuring and scoring.
To decorate the card I have used Birch tree with birds die
The reindeer is a Tim holtz die called Reindeer flight and I used a stamp called 
Christmas story (by penny black)  to stamp on it with archival coffee ink.
The Merry Christmas is a presscut die that I have diecut in white card and then glittered.
I have also used chunky white frantage to create a snowy effect.


Monday, 12 October 2015

Merry Christmas


Today I have a Christmas card because that time of the year is starting to get nearer.
I am just loving this tree die by Impression obsession at the moment called
The tree is actually three separate dies so you can use as much as you like
 and the birds are separate too, I think it will be in a lot of my cards this year.
For my card I have used the largest die-namics stitched rectangle frame and cut in white card.
 I have used the piece from the centre of the frame to create a background with
 distress inks and a blending tool.
To create the snow look I have sprinkled chunky white embossing enamel over it
and then heated with a heat gun from underneath the card.
If you heat on the top you stand a chance of blowing all the embossing powder off.
The Merry Christmas is a die by presscut and was cut in white card,
I then used versamark and stamp and bond to make it sticky,so that I could add glitter to it.
Distress inks I have used are-