Saturday, 28 May 2016

Going bananas


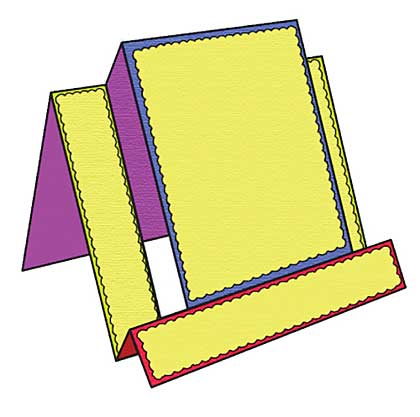
Hello, today I have a card made using the presscut stepper die
It is a great die because it takes all the measuring away and also
comes with some layering dies with a lovely scalloped edge.
http://www.sirstampalot.co.uk/images/1360/13600083645_L.jpg 

I have used the Darice embossing folder to create the cloud effect on the 
die cut matting pieces.
I have then stamped out a few of the Magnolia leaves and coloured with copics.
The colours I used are YG03,YG63,Yg67 and G99.
The monkeys are made using scraps of card and the Marianne monkey die
I also used a white gel pen to highlight eyes and belly button.

Products used-
Marianne design - Eline's monkey
 Darice cloud embossing folder
Presscut die- Stepper card 
Magnolia stamp- Jumgle leaves 
Magnolia stamp - Going bananas

Wednesday, 25 May 2016

Birds and bloom collage


Today we have a card made using the Heartfelt creation stamp called
'Birds and bloom' 
I have stamped the image on watercolour card in brown ink and then embossed
with clear embossing powder.
Then using the Tim Holtz blending tool and pads I have used different distress ink pads
to create a coloured background.
I stayed away from the leaves because I wanted to paint them.
When I was happy with colour I spritz a little water on the image to add another effect.
I stamped the bird collage again and this time cut out a few details
so that I could decoupage them.
I coloured these pieces with distress markers and used silcone glue to add them.

http://www.sirstampalot.co.uk/images/0077/00770086093_L.jpg
The frame is made using the Sue Wilson shadow box die
and gives a lovely stitched effect when die cut.

Products used- 
Birds and bloom collage by heartfelt creations 
Jute string - natural
Distress markers
Distress ink pads 
Wink of stella pen clear 
Detail clear embossing powder

Monday, 2 May 2016

Orchid Spray Card


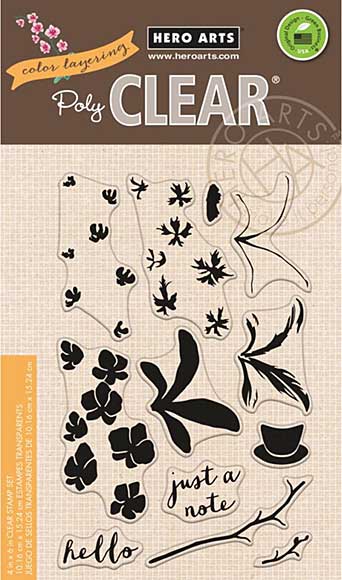
Today I have another card using the Hero Arts set
This time only using the flowers and cutting them out.

http://www.sirstampalot.co.uk/images/0003/00030085172_L.jpg


The flowers have been stamped in three different shades of pink and a little
bit of Liquid Pearl used in the centre.
The flowers are very easy to stamp and create a lovely effect.
A frame as been created around the image and a lattice background made by using
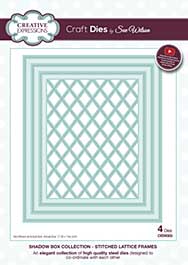
a Sue Wilson die set called 'Stitched Lattice Frames'
This set is so useful and as a lovely stitched effect on it.

http://www.sirstampalot.co.uk/images/0077/00770086093_L.jpg 

Labels twenty eight by spellbinders is used for the sentiment.
And the sentiment itself is from a set called Black Eyed Susan by JustRite.
Pearls and ribbon are added for a extra little touch.

bye for now
louise

Saturday, 30 April 2016

Colour Layering - Orchid in a Pot


Today we have a card made using a stamp set by Hero Arts called
This is a great stamp set that you can layer up the stamps to make pretty flowers and foliage

 http://www.sirstampalot.co.uk/images/0003/00030085172_L.jpg

On the back of the stamp set there is instructions on how to use
but it is very easy and a lovely way to use all those ink colours that you have collected.
There is two lovely sentiments included in the set.
The card that was used for stamping on is Langton watercolour pad
The base of the card was made by using spellbinders set

http://www.sirstampalot.co.uk/images/077/0770053159_L.jpg 

The pink spotted paper is from a pad by first edition called
and I used the sewing machine to do a few stitches around the stamped image. 
Bye for now
Louise


Saturday, 23 April 2016

Crafters Companion The Big Score Board

Hello, Louise here,
look whats arrived at Sir Stampalot this week:

http://www.sirstampalot.co.uk/images/0102/01020086129_L.jpg 


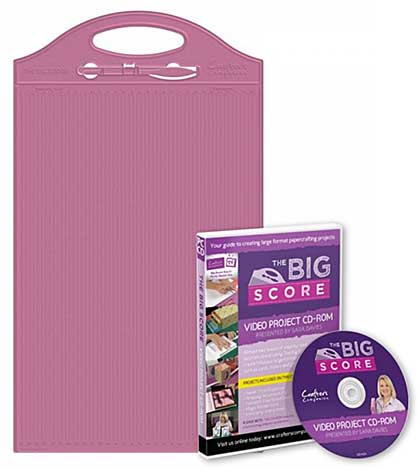
It is the Big Score by Crafters Companion.
I am loving this board and the CD-Rom that comes with it in our special bundle.

I have been having a little play and made the box that holds two 100g chocolate bars:


This is just one of the projects on the CD-Rom and was very easy to make.
You can use it just as a gift box but I do like the idea of chocolate
for a little thank you gift.


The board can be used for making simple boxes or more complex gift boxes.
You can score and make standard cards or create a fancy folding card.
 The board is double sided so you can work in metric or imperial 
and is A3 size for making those large projects.

Products I have used are -

Magnolia paper
Happy birthday die by presscut 
Butterfly die by memory box
Solid butterfly die by memory box
Spellbinders triple floral


Sunday, 17 April 2016

Jungle Friends


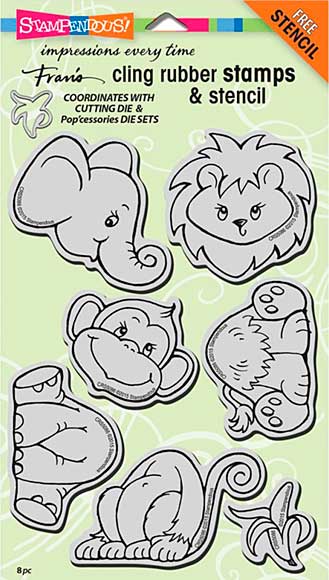
Hello I am back today with another card made using stampendoue stamps.
This time the set is called Jungle friends and I love this cheeky monkey

http://www.sirstampalot.co.uk/images/0025/00250085888_L.jpg

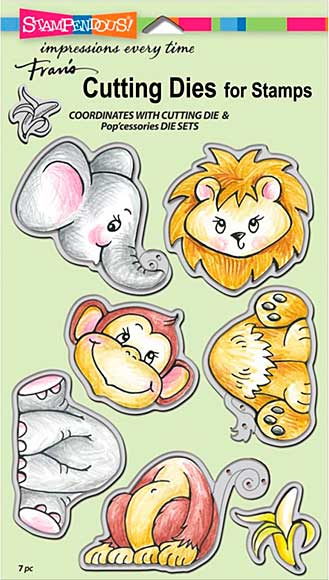
There is a matching die set that goes with this set too if you do not like cutting out.
I have used copics to colour my image in with in the following colours -
E50 E51 E53 - Light brown
E95 E97 E99 - darker colour and R20 for pink bits.

http://www.sirstampalot.co.uk/images/0025/00250085889_L.jpg 

I have used Die namics blue print set 15 for my base card and 
used a cloud embossing folder on one of the die cuts,
which I have used behind the monkey.
The leaves are from a die by Sue Wilson and the papers are
Graphic 45 6x6 pad called childrens hour.

Product list and links 

Jungle friends stamp set
Jungle friend die set
Blue print 15 set by die namics
Sue Wilson leaves Ced 1403
Graphic 45 childrens hour 6x6 pad
Darice embossing folder 'clouds'


Friday, 15 April 2016

Woodland Friends


Hi Louise here with a card I have made using a new set from 
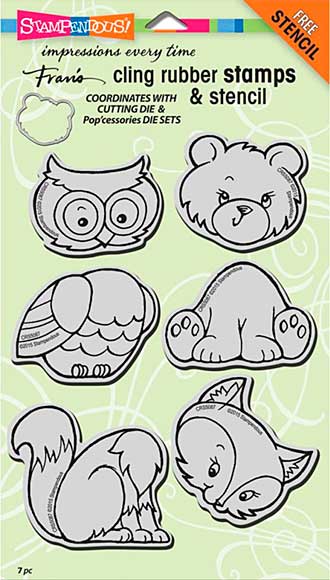
Stampendous called Woodland friends

http://www.sirstampalot.co.uk/images/0025/00250085887_L.jpg 

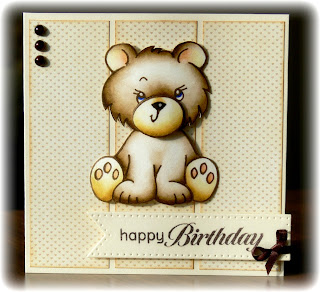
I have used the cute bear but loving the fox and the owl.
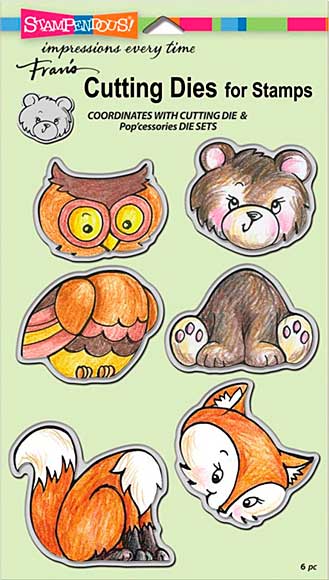
There is a matching die set to die cut out the animals
 that is available too.


http://www.sirstampalot.co.uk/images/0025/00250085890_L.jpg

I have stamped a few images so that I could decoupage the bear
and I have coloured the bear with distress markers.
I have used papers from Graphic 45 6x6 pad called
Precious moments
The die that I have stamped the sentiment on is by Sue Wilson
and it is called pierced flags.

Product list and links

Woodland friends stamp set  
Woodland friend die set 
Sue Wilson die - Ced4304 pierced flags 
Graphic 45 pad Precious moments
Distress markers - Gatthered twigs
                           Antique linen
                   Tea dye


Monday, 11 April 2016

Graphic 45 "Voyage Beneath the Sea" Mini Album


Lovin' this album created by Mandy Gilbert using one of the latest collections from Graphic 45 - Voyage Beneath the Sea.  The album has been made from scratch using the gorgeous G45 collection, a couple of sheets of 2mm chipboard (for the covers) and cream cardstock (for the base pages).

Here's a look at the cover:

Mandy has kept it clean and simple.  She's used Kraft Tex embossed with a snakeskin design embossing folder for the closure wrap and a Tim Holtz hitch fastener to secure.

Mandy has covered the spine of the album so that the mermaid riding the fish, signature page design is prominent:


The Tags and Pockets from the Voyage Beneath the Sea collection is dotted about all through this album so there's plenty of nooks and crannies that have been created to house them all. 
And the ephemera cards are also dotted throughout the album with cream photo mats and tabs made from the EK success punch "real estate sign"

INSIDE FRONT COVER
Here's the inside front cover:


Mandy has created a belly band going down the page, on the left hand side and a pocket page on the right hand page.  The same EK success punch "real estate sign" that was used for the photo mat tabs (folded in half), has been used to cut a decorative notch for the pocket page.

PAGE 1
Page 1 double spread uses a horizontal belly band with one of the tags used as a stopper. And on the right hand side, Mandy has included another pocket page.
A lovely feature Mandy has used throughout the album, is a secret photo mat between the pages.  You can just see it here where the tab of the secret page is a punch out of the main page and inked around the edges - can you see it on the top left hand part of this page?  Once you look at the photo mat and then pop it back in the album, it aligns with the main page and becomes camouflaged - something different and very cool, isn't it?

PAGE 2
For the next double page, Mandy has gone with a little slit pocket on the left hand side and a corner pocket feature using one of the tags on the right hand side:
PAGE 3
Page 3 features a corner pocket using one of the tags and the right hand page features a beautiful waterfall feature.  The holding point is one of the ephemera cards with a ribbon pull and magnet to keep it all closed up.
The designs on the waterfall sections have been created using the smaller patterns from the 6x6 paper pad.
PAGE 4
The fourth double page spread includes a horizontal belly band on the left, and also a slit pocket on the right.

PAGE 5
The left hand side of the fifth double page spread features a stacked double pocket.  The right hand page has a small pocket using the spellbinders die labels seventeen and cut in half - it's a great way to use your dies in a different way and get the most out of them.


INSIDE BACK COVER
The final double page spread on the inside back cover features another horizontal belly band with tag stopper.  On the right hand side, is an additional pull out section to hold at least 8 photos and also acts as a pocket to hold more tags :)


This is just an amazing album and is on the counter in the Sir Stampalot, Peterborough shop for you to look at when next visiting :)
Mandy is teaching this project as one of our fabulous “weekender” sessions, here at Sir Stampalot this weekend and repeating the project later in June :) 

Absolutely beautiful. Thanks Mandy.

Enjoy!
Until next time....

janicex
Friday, 4 March 2016

Just Me


Hi!  Louise here with a project Lisa has made which she has titled
'Just Me'.
This is a mini album in an ATC box that folds flat open.
The base box is the ATC box kit by My Creative Spirit.  Lisa has painted the edges black and used black masking tape for the 'hindges' to allow the box to open flat.  Top Tip : A black sharpie is great for touching up any bits missed when painting!
Lisa has decorated the box with papers from a paper pad called 'I am' by Simple Stories.

Here's the front of the box:


And here's the box as you start to open it:


The box folds out flat when opened and in the centre there is a mini album that is attached to base.
The pages are adorned with pockets, tabs, flaps and lots of pretty details :)
You can place photos and little notes in the pockets and tabs.
The complete box is all kept together with a pretty hinge fastener from The Hobby House.

Here's some photos of the inside pages showing off the lovely papers:
 

 The papers include little motifs to cut out and decorate the pages with:

The WRMK thumb notch punch has been used to create a notch in the top pocket here along with the euro tag punch for the tags in the side pocket.


Love this EK success scroll edge punch and the Bo Bunny elegant border heart die design used here:


A complete list of the products Lisa has used for this project, are:-
'I am' 6x6 paper pad
Tim Holtz bow punch
ATC box kit
Brass catch by The Hobby House
Sue Wilson die Graceful Lace trim - CED6403
Sue Wilson die Teardrop adornment - CED6305 
Deep edge EK success scroll edge 
 Fleur de lys mini punch duo set  
Moroccan lace edge punch
Euro hook power punch
WRMK thumb notch punch
Cosmic shimmer glue
Black masking tape
Extra chipboard for lid sides


Lisa is teaching this project as an all day class at Sir Stampalot.

Enjoy :)