Louise here! It's only Sept I hear you say but I know lots of you are already thinking about Christmas cards and Christmas presents. So I thought I'd share pictures of this mini Christmas album I made for a class we had at Sir Stampalot.
This would make a lovely keepsake to give to someone at Christmas for them to keep their special photos in thay they take over the festive season.
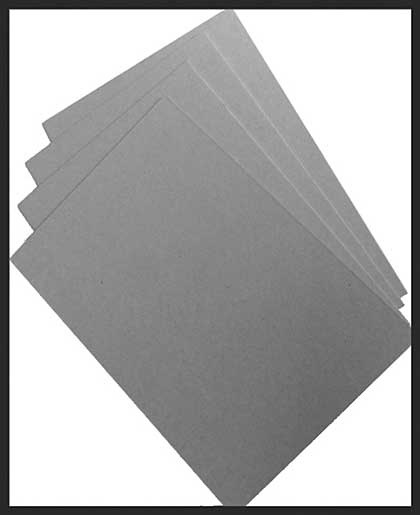
The front and back cover of this album is made from chipboard cut to 10cm by 16cm.
The papers used in the album all come from one 8x8 Graphic 45 pad called
'Twas the night before Christmas'
Unfortunately this collection is now discontinued :(
but the format and layout of this album would work wonderfully with any paper collection - festive or otherwise :)
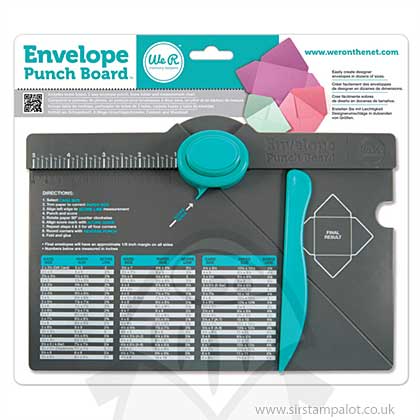
The pages in this album are actually envelopes created from the We R Memory Keepers envelope board and I have used one sheet of 8x8 paper for each envelope.
I have made four envelopes in the 3 1/2" by 5 1/2" (gladstone) measurement in patterned paper.
You then need to remove one of the short edges flap, then glue the rest down like you would a normal envelope. This will create a opening for your tag to go in.
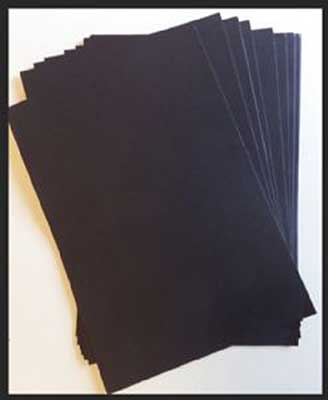
I have made two 4" x4 "envelopes in black card and cut the one shorter edge the same as before.
This time I saved the piece that I cut of and punched a border along the long straight edge and then glued it back onto the front of the envelope. This creates a pretty detail to the envelope.
I have used postcards and tags all found within the paper pad to create pockets and pretty details through out the album.
Six tags have been die cut from the Tim Holtz tag collection set to slip into the open end of the envelopes, I did need to cut off a little bit of the length so that they did not stick out to far.
I added a little ribbon to each one.
Where I added a picture cut-out, or made pockets, I matted and layered with black card to make them stand out more.
The whole album is bound together using a Zutter book binding machine and with 1 1/4" wires.
You do need to think about where the holes will be when decorating each page so that you are not ruining a page by punching straight through a decoration with the bind it all machine!
I tied some off-cuts of ribbon around the binding wires to finish the album.
I have also added a little stocking charm tied on with string to the wires.
Products used include:
 |
| Zutter Bind It All |
 |
| Tim Holtz Tag Collection |
 |
| We R memory Keepers Envelope Board |
 |
| Holly Punch Around Page |
 |
| Chipboard |
 |
| Black Card |
 |
| Twas the Night 8x8 pad |


